在传统的 SSM 中,需要开发者自己来配置 Spring Data Redis ,这个配置比较繁琐,主要配置 3 个东西:连接池、连接器信息以及 key 和 value 的序列化方案。
在 Spring Boot 中,经过Spring Boot的整合封装与自动化配置,在Spring Boot中整合Redis已经变得非常容易了,开发者只需要引入Spring Data Redis依赖,然后简单配下redis的基本信息,系统就会提供一个RedisTemplate供开发者使用。默认集成的 Redis 就是 Spring Data Redis,默认底层的连接池使用了 lettuce ,开发者可以自行修改为自己的熟悉的,例如 Jedis,只需修改依赖即可。
在Spring Boot 2.1.5之后包括2.1.5,远程访问Redis必须引入Spring security。
创建工程
[root@localhost redis-4.0.6]# redis-server redis.conf
2、接着输入密码,并清空:
[root@localhost redis-4.0.6]# redis-cli -a 123456 //输入密码
127.0.0.1:6379> ping
PONG
127.0.0.1:6379> keys *
1) "name"
127.0.0.1:6379> FLUSHALL   //清空
OK
127.0.0.1:6379> KEYS *
(empty list or set)
127.0.0.1:6379>
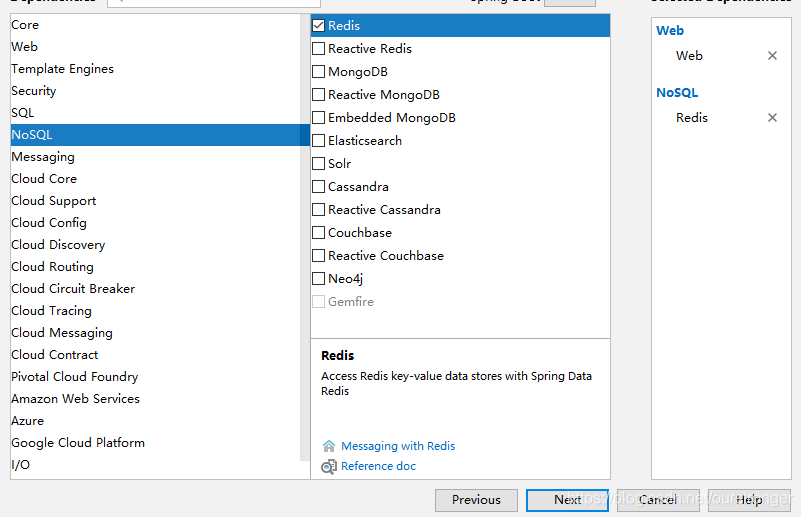
3、创建工程,引入 Redis 依赖:
最终完整的 pom.xml 依赖如下,默认底层的连接池使用了 lettuce:
      <dependencies>
	<dependency>
		<groupId>org.springframework.boot</groupId>
		<artifactId>spring-boot-starter-data-redis</artifactId>
	</dependency>
	<dependency>
		<groupId>org.springframework.boot</groupId>
		<artifactId>spring-boot-starter-security</artifactId>
	</dependency>
	<dependency>
		<groupId>org.springframework.boot</groupId>
		<artifactId>spring-boot-starter-web</artifactId>
	</dependency>

	<dependency>
		<groupId>org.springframework.boot</groupId>
		<artifactId>spring-boot-starter-test</artifactId>
		<scope>test</scope>
	</dependency>
	<dependency>
		<groupId>org.springframework.security</groupId>
		<artifactId>spring-security-test</artifactId>
		<scope>test</scope>
	</dependency>
</dependencies>
配置 Redis 信息
spring.redis.host=192.168.1.132
spring.redis.database=0
spring.redis.password=123456
spring.redis.port=6379
# 连接池最大连接数(使用负值表示没有限制)
spring.redis.pool.max-active=8
# 连接池最大阻塞等待时间(使用负值表示没有限制)
spring.redis.pool.max-wait=-1
# 连接池中的最大空闲连接
spring.redis.pool.max-idle=8
# 连接池中的最小空闲连接
spring.redis.pool.min-idle=0
# 连接超时时间(毫秒)
spring.redis.timeout=0

spring.redis.lettuce.pool.min-idle=5
spring.redis.lettuce.pool.max-idle=10
spring.redis.lettuce.pool.max-active=8
spring.redis.lettuce.pool.max-wait=1ms
spring.redis.lettuce.shutdown-timeout=100ms
自动配置
我们从 Spring Boot 中 Redis 的自动化配置类中就可以看出:
@Configuration @ConditionalOnClass({RedisOperations.class}) @EnableConfigurationProperties({RedisProperties.class}) @Import({LettuceConnectionConfiguration.class, JedisConnectionConfiguration.class}) public class RedisAutoConfiguration public RedisAutoConfiguration () } @Bean @ConditionalOnMissingBean( name = {"redisTemplate"} ) public RedisTemplate<Object, Object> redisTemplate (RedisConnectionFactory redisConnectionFactory) throws UnknownHostException RedisTemplate template = new RedisTemplate(); template.setConnectionFactory(redisConnectionFactory); return template; } @Bean @ConditionalOnMissingBean public StringRedisTemplate stringRedisTemplate (RedisConnectionFactory redisConnectionFactory) throws UnknownHostException StringRedisTemplate template = new StringRedisTemplate(); template.setConnectionFactory(redisConnectionFactory); return template; } }
首先标记这个是一个配置类,同时该配置在 RedisOperations 存在的情况下才会生效(即项目中引入了 Spring Data Redis)
@RestController public class HelloController @Autowired StringRedisTemplate stringRedisTemplate; @GetMapping("/set") public void set () ValueOperations<String, String> ops = stringRedisTemplate.opsForValue(); ops.set("name" ,"Hello World!" ); } @GetMapping("/get") public void get () ValueOperations<String, String> ops = stringRedisTemplate.opsForValue(); System.out.println(ops.get("name" )); } }
然后启动项目,由于项目引入了Spring security, 所有接口已经被保护起来了,此时访问 localhost:8080/set 接口,会跳转至一个登录窗口,如下图:
这里的用户名默认是user,密码是是此时控制台打印的如下图,粘贴过来即可:
登陆成功后,我们来看一下Redis,如下:
然后继续访问localhost:8080/get 接口,控制台会打印出get到的值,如下:
好了,现在测试OK,试一下CRUD.
增删改查
package com.example.springboot.redis; import org.springframework.beans.factory.annotation.Autowired;import org.springframework.data.redis.core.RedisTemplate;import org.springframework.stereotype.Component; @Component public class RedisUtils @Autowired private RedisTemplate<String, String> redisTemplate; public String get (final String key) return redisTemplate.opsForValue().get(key); } public boolean set (final String key, String value) boolean result = false ; try { redisTemplate.opsForValue().set(key, value); result = true ; } catch (Exception e) { e.printStackTrace(); } return result; } public boolean getAndSet (final String key, String value) boolean result = false ; try { redisTemplate.opsForValue().getAndSet(key, value); result = true ; } catch (Exception e) { e.printStackTrace(); } return result; } public boolean delete (final String key) boolean result = false ; try { redisTemplate.delete(key); result = true ; } catch (Exception e) { e.printStackTrace(); } return result; } }
2.然后就可以直接在service中通过RedisTemplate操作redis,使用redis进行缓存数据库查询。
@Autowired RedisUtils redisUtils; public List<Menu> getAllMenus () String allMenus = redisUtils.get("AllMenus" ); if (allMenus == null ) { redisUtils.set("AllMenus" , String.valueOf(menuMapper.getAllMenus())); } return menuMapper.getAllMenus(); } public void update (Article article) redisUtils.delete("article_" + article.getId()); articleMapper.save(article); } public void deleteById (String id) redisUtils.delete("article_" + id); articleMapper.deleteById(id); }
完了,就这么简单,快去试试吧!
另外,还可以通过Spring Cache的形式来操作Redis,具体请移步至:Spring Boot中,Spring Cache + Redis
为正常使用来必力评论功能请激活JavaScript